| 1. |
Prepare MS SQL Server
The installer will create a new database using the "sa" account. You need to configure
your SQL Server to allow SQL Server authentication. In addition, you need to make
sure the "sa" database administrator account is enabled and has a non-blank password.
If you don't have SQL Server or don't know how to do the above, click here.
|
| 2. |
Prepare IIS
If you are running Windows 2008/2012, make sure both of Web Server Role and Application Server Role are installed.
If you are running Vista, enable IIS first.
Then, download IIS Web Deployment Tool.
Install the amd64 version if your Windows is 64bit. If the Import Application action
doesn't show up after installation, use the solution here. Make sure "IIS Manager UI Module" is selected during the installation.
|
| 3. |
Install nService
Download nService4.zip (7M).
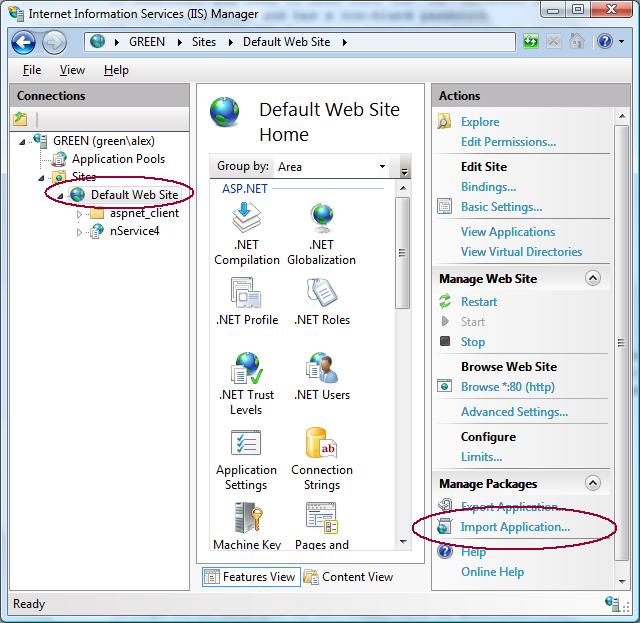
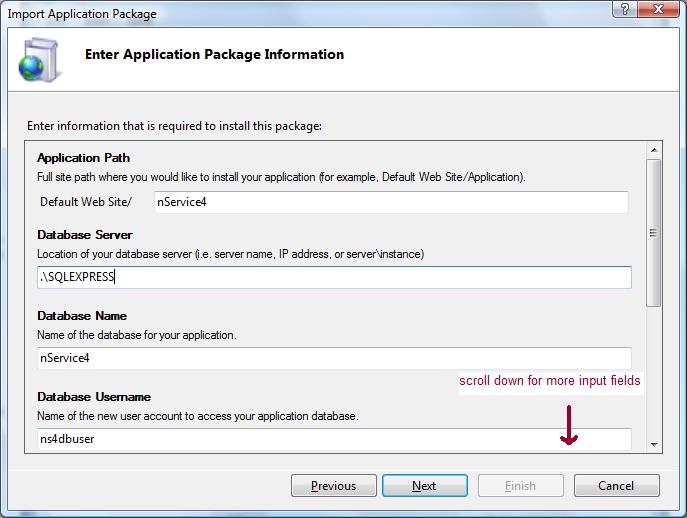
Go to Control Panel, Administrative Tools, run IIS Manager. Select the website you
want to run nService under, click the Import Application action on the right panel.
When prompted, select the nService zip file you just downloaded. Make sure you select
"Create New Database" during the installation.
|
|
|
 Help Desk Software
 Service Management Software
 Free Trial
 Store
Store Support
 About Us